Blog · 31 Aug 2026 · 12 min read
Giving a 2017 MacBook Pro a Second Life with Omarchy
How I turned an almost-decade-old Touch Bar MacBook into a lightweight Linux and AI-development machine—and what the first installation taught me about EFI, hardware dependencies, and using the computer you already own.
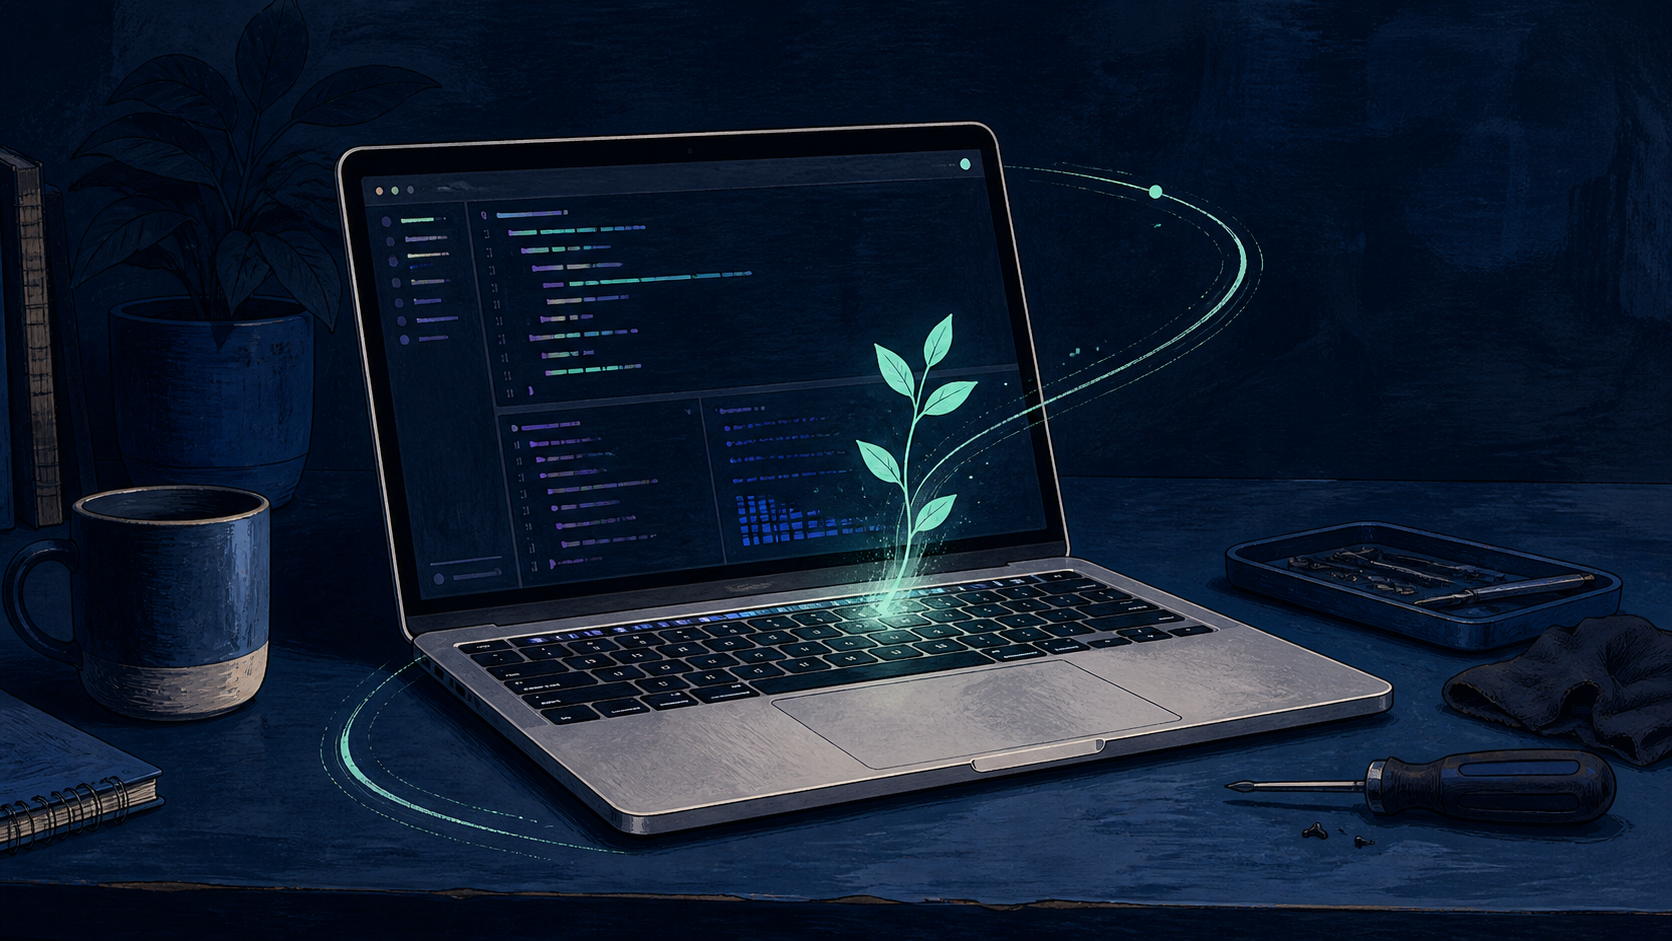
I had a 2017 MacBook Pro sitting unused at home.
It is the 13-inch Intel model with a Touch Bar:
- Intel Core i5
- 8 GB RAM
- 250 GB SSD
- Apple T1 chip
MacBookPro14,2
The hardware is nearly a decade old, macOS support is increasingly limited, and I already have newer machines for my daily work. Selling it would not generate much value either.
Instead, I decided to try something different: turn it into a lightweight Linux and AI-development machine using Omarchy.
Omarchy is an opinionated Arch Linux-based developer environment created by David Heinemeier Hansson. It combines Arch Linux, Hyprland, Quickshell, terminal-first workflows and modern developer tooling into a cohesive desktop environment.
The result surprised me.
After some hardware-specific setup, this old MacBook is now running Omarchy with working:
- Wi-Fi
- Bluetooth
- internal speakers
- microphone
- camera
- keyboard and trackpad
- keyboard backlight
- Touch Bar
- screen brightness controls
- volume and media controls
- F1–F12 Touch Bar keys
This article documents the correct installation path, followed by the mistakes I made during the first attempt and what I learned from them.
Why Omarchy?
I was not looking for another general-purpose laptop.
What interested me was creating a lightweight machine dedicated to:
- terminal-based development
- Git and GitHub
- Python and Node.js
- Docker
- SSH
- Claude Code
- Codex
- Pi and other AI agents
- remote access to VPS and GPU machines
For these workloads, an old Intel i5 is still surprisingly capable.
The heavy AI inference does not need to happen locally.
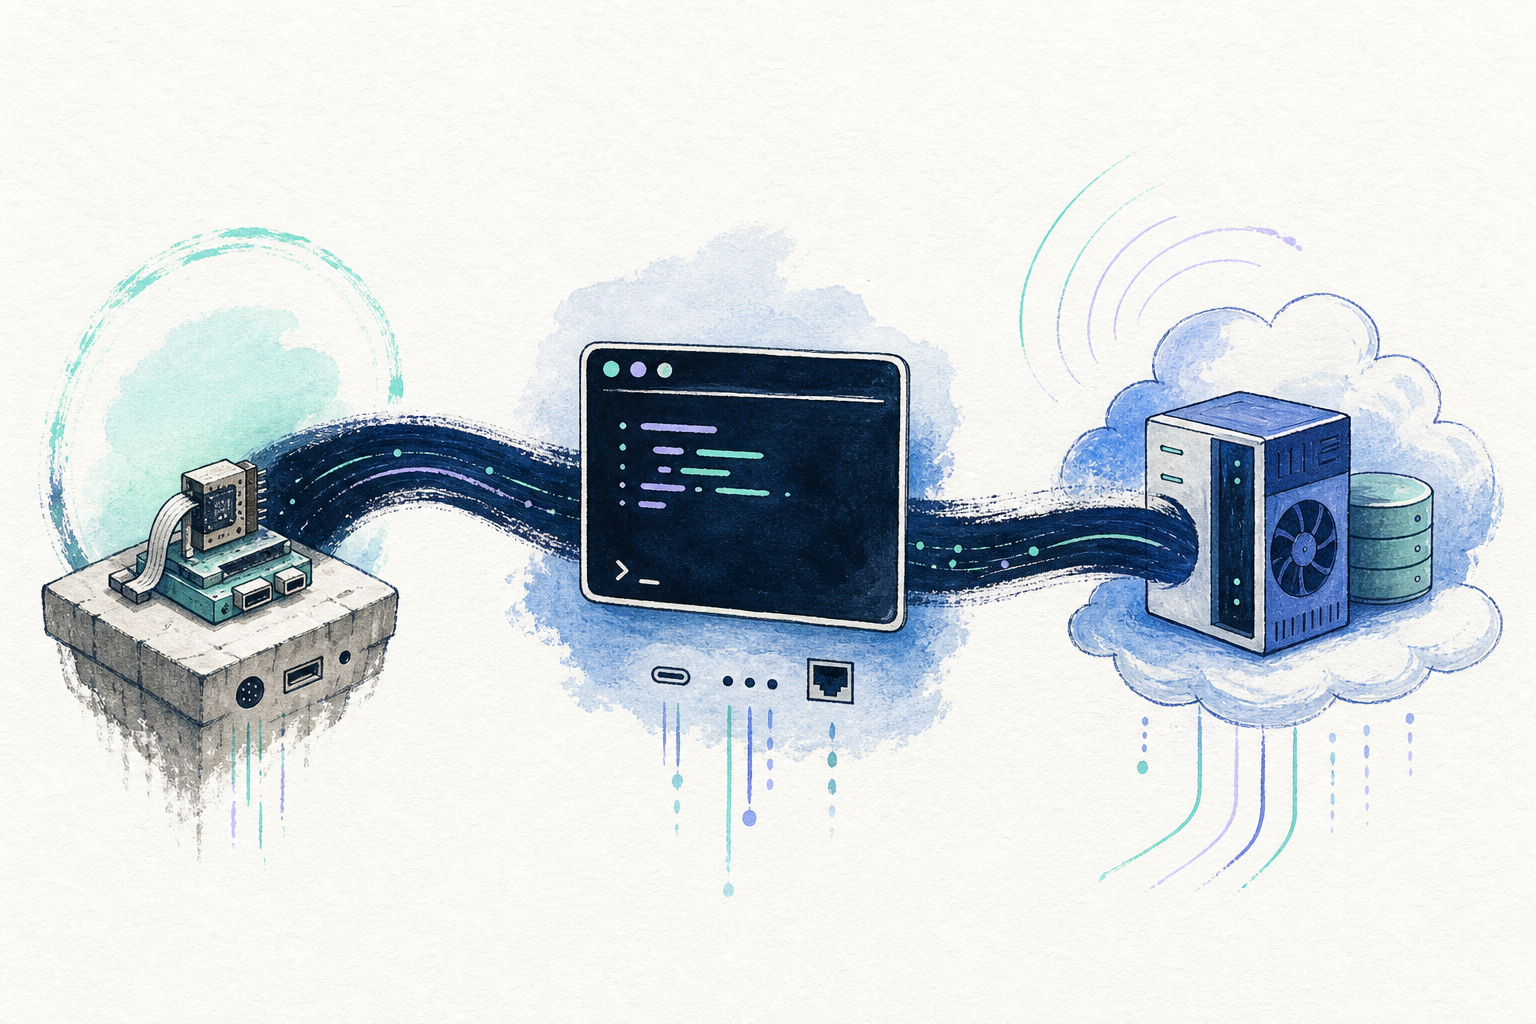
A useful mental model is:
2017 MacBook Pro
      │
    Omarchy
      │
 ┌────┼─────────────┐
 │    │             │
Git  AI Agents   Terminal
 │    │             │
 └────┼─────────────┘
      │
      ├── Cloud APIs
      ├── VPS
      └── GPU workstation
The old laptop becomes a portable development and agent console rather than a local AI compute machine.
Important: 2017 Touch Bar Macs are different
Before installing Linux on one of these machines, there is one important technical detail to understand.
The 2016–2017 Touch Bar MacBook Pros use Apple’s T1/iBridge chip.
The T1 is involved in several components, including:
- Touch Bar
- FaceTime camera
- ambient-light sensor
- Touch ID
- Apple bridge functionality
Linux can support much of this hardware, but the Apple EFI environment must be preserved.
This became the biggest lesson from my installation.
Step 1 — Back up the Mac
Before modifying the disk, back up anything important.
You can use:
- Time Machine
- iCloud
- an external SSD
- NAS
- another computer
The installation process modifies disk partitions, so assume data can be lost.
Step 2 — Make sure macOS Recovery works
Before touching the disk, test Apple’s Internet Recovery.
Shut down the Mac.
Power it on while holding:
Option + Command + RIf Internet Recovery loads successfully, you have a recovery path if anything goes wrong.
This provides a safety net:
Linux installation problem
        ↓
Option + Command + R
        ↓
macOS Recovery
        ↓
Disk Utility
        ↓
Reinstall macOS
Step 3 — Start from a healthy macOS installation
For a T1 Mac, I recommend installing or restoring macOS first.
Use Disk Utility to format the internal SSD as:
Format: APFS
Scheme: GUID Partition Map
Install macOS and boot completely into macOS at least once.
Before continuing, confirm that these work:
- Touch Bar
- camera
- keyboard
- trackpad
This ensures Apple’s normal EFI and T1 environment has been initialized.
Step 4 — Create space for Omarchy
This is the most important part of the installation.
Do not give Omarchy the whole disk.
I kept approximately:
250 GB SSD

├── Apple EFI
├── macOS        ~61 GB
└── Omarchy     ~189 GB
The critical requirement is that the Omarchy portion must be real unallocated space.
Creating another APFS volume is not enough.
To inspect the disk:
diskutil listAt one stage I had:
EFI
macOS APFS
second APFS container
Omarchy still offered only the option to erase the entire disk.
The extra APFS container had to be deleted.
In macOS Recovery Terminal, my additional container was disk3, so I removed it with:
diskutil apfs deleteContainer disk3Your disk identifiers may be different, so always check with:
diskutil listbefore deleting anything.
The final layout looked roughly like:
/dev/disk1

EFI                         314 MB
Apple_APFS                   61 GB
(free space)                189 GB
That (free space) entry is what we want.
Step 5 — Create the Omarchy installer
Download the Omarchy ISO.
Use a tool such as balenaEtcher to flash it to a USB drive.
Do not simply copy the ISO file onto the USB drive.
The process should be:
Omarchy ISO
     ↓
balenaEtcher
     ↓
bootable USB
I would recommend a normal USB flash drive rather than an SD card and reader if possible.
Step 6 — Boot the Omarchy installer
Insert the installer.
Restart the Mac while holding:
OptionSelect:
EFI BootOnce the installer starts, select the internal SSD.
Because the disk now contains genuine unallocated space, Omarchy should offer a free-space installation option.
Choose that.
Do not choose:
Override disk
Erase disk
Full disk installation
The goal is to preserve both macOS and Apple’s existing EFI environment.
Step 7 — Verify the T1 before installing drivers
Once Omarchy boots, install USB utilities:
sudo pacman -S usbutilsThen run:
lsusb | grep -i appleFor a healthy T1 environment, you should see the Apple iBridge device, typically similar to:
05ac:8600 ... iBridgeThis is an extremely important checkpoint.
If instead you see:
05ac:1281 Apple Mobile Device [Recovery Mode]stop.
Do not start installing Touch Bar or camera drivers.
That means the T1 is not initialized correctly.
Step 8 — Wi-Fi
On my second installation, Wi-Fi worked immediately.
During the first attempt, however, I encountered an interesting Broadcom issue.
Some networks were missing and correct passwords were rejected.
Check the wireless regulatory region:
iw reg getMy original output contained:
country 00: DFS-UNSET
country 99: DFS-UNSET
Since I am using the machine in Singapore, I changed it to:
sudo iw reg set SGThen rescanned:
nmcli device wifi rescan
nmcli device wifi list
More Wi-Fi networks immediately appeared.
To connect:
nmcli device wifi connect "YOUR_WIFI_NAME" --askUsing --ask avoids problems with passwords containing shell-special characters.
To make the Singapore regulatory domain persistent:
sudo mkdir -p /etc/conf.d
echo 'WIRELESS_REGDOM="SG"' | sudo tee /etc/conf.d/wireless-regdom
and:
echo 'options cfg80211 ieee80211_regdom=SG' | \
sudo tee /etc/modprobe.d/cfg80211.conf
If Broadcom authentication still fails:
echo 'options brcmfmac feature_disable=0x82000' | \
sudo tee /etc/modprobe.d/brcmfmac.conf
Then rebuild the initramfs:
sudo mkinitcpio -P
sudo reboot
Step 9 — Internal speakers
The MacBook uses a Cirrus Logic CS8409 audio codec.
Check:
aplay -lMine showed:
CS8409 AnalogLinux detected the audio device, but initially the internal speakers produced no sound.
I used the community snd_hda_macbookpro driver.
Install the required packages:
sudo pacman -S --needed \
base-devel git dkms linux-headers make patch wget
Clone the project:
cd ~
git clone https://github.com/davidjo/snd_hda_macbookpro.git
cd snd_hda_macbookpro
Install:
sudo ./install.cirrus.driver.sh -iThen reboot:
sudo rebootCheck:
dkms statusAnd test:
speaker-test -c 2The internal speakers worked after this.
Step 10 — Microphone
The internal microphone also worked on my final installation.
To check available input devices:
arecord -lor:
wpctl statusA simple recording test:
arecord -d 5 -f cd ~/mic-test.wavThen:
aplay ~/mic-test.wavIf you can hear the recording, microphone capture is working.
Step 11 — Keyboard backlight
The keyboard backlight required no additional driver.
Check available brightness devices:
brightnessctl -lMy keyboard appears as:
spi::kbd_backlightSet it to 50%:
brightnessctl -d "spi::kbd_backlight" set 50%Increase:
brightnessctl -d "spi::kbd_backlight" set 10%+Decrease:
brightnessctl -d "spi::kbd_backlight" set 10%-Step 12 — Touch Bar
Once the T1 was healthy, the Touch Bar became relatively straightforward.
I used the Arch-compatible community driver:
Phennova/apple-touchbar-driverInstall prerequisites:
sudo pacman -S --needed dkms linux-headers gitClone:
git clone https://github.com/Phennova/apple-touchbar-driver.git
cd apple-touchbar-driver
Install:
sudo ./install.shThen:
sudo mkinitcpio -P
sudo reboot
Verify:
dkms statusand:
lsmod | grep -E 'apple_ibridge|apple_ib_tb|apple_touchbar'The Touch Bar now shows controls for:
- screen brightness
- keyboard brightness
- media
- volume
- Escape
- F1–F12
Holding Fn switches to function keys.
The Touch Bar mode can also be inspected with:
cat /sys/bus/platform/devices/apple-ib-tb.*/fnmodeFor Mac-like behavior where normal controls are displayed and holding Fn shows F1–F12:
echo 1 | sudo tee \
/sys/bus/platform/devices/apple-ib-tb.*/fnmode
To make it persistent:
echo 'options apple_ib_tb fnmode=1' | \
sudo tee /etc/modprobe.d/apple-touchbar.conf
Step 13 — Camera
One pleasant surprise was that after preserving the T1 environment, the FaceTime camera worked without additional configuration.
Check:
ls /dev/video*Mine exposed a video device normally.
A simple graphical test is:
sudo pacman -S guvcviewthen:
guvcviewThe camera worked.
Step 14 — Final hardware check
My final checklist looked like this:
Omarchy                  ✅
macOS dual boot           ✅
Wi-Fi                     ✅
Bluetooth                 ✅
Keyboard                  ✅
Trackpad                   ✅
Keyboard backlight         ✅
Internal speakers          ✅
Microphone                 ✅
Camera                     ✅
T1/iBridge                 ✅
Touch Bar                  ✅
Brightness controls        ✅
Volume controls            ✅
F1–F12                     ✅
For a 2017 laptop, that is a surprisingly complete result.
What went wrong during my first attempt
The successful setup was actually my second installation.
The first attempt taught me much more than the successful one.
Mistake 1 — Erasing the entire SSD
Initially, I let Omarchy take over the whole disk.
Omarchy itself installed successfully.
Most hardware could eventually be made to work.
But the Touch Bar remained completely black and the camera was unavailable.
The clue appeared when I ran:
lsusbInstead of seeing:
05ac:8600 iBridgeI saw:
05ac:1281 Apple Mobile Device [Recovery Mode]The T1 chip was stuck in recovery mode.
The likely reason was that the full-disk Linux installation replaced Apple’s EFI environment containing data needed for T1 initialization.
No amount of Touch Bar driver installation could solve that problem because the hardware underneath the driver was not initialized.
The fix required:
restore macOS
      ↓
boot macOS
      ↓
restore Apple EFI/T1 environment
      ↓
preserve EFI
      ↓
install Omarchy into free space
This was the biggest lesson of the entire experiment.
Mistake 2 — Creating another APFS partition
After restoring macOS, I initially created a second APFS partition for Omarchy.
That still did not work.
Omarchy continued showing only:
Override diskThe installer needed unallocated disk space, not another formatted APFS container.
After deleting the second APFS container and seeing:
(free space) ~189 GBin diskutil list, Omarchy finally offered the correct free-space installation.
Small distinction, big consequence.
Mistake 3 — Assuming a Wi-Fi password error meant the password was wrong
Linux reported that my Wi-Fi password was incorrect.
It wasn’t.
The system’s regulatory domain was unset.
Changing:
country 00to:
country SGmade additional networks appear and allowed the connection to work.
It was a useful reminder:
Error messages often describe the immediate failure, not the underlying cause.
Mistake 4 — Debugging the Touch Bar before checking the T1
During the first installation I successfully installed the Touch Bar kernel modules.
dkms status looked healthy.
The modules were loaded.
But the Touch Bar remained black.
I spent time looking at the Linux driver when the correct first diagnostic should have been:
lsusbThe dependency chain is really:
Apple EFI
    ↓
T1 firmware
    ↓
iBridge
    ↓
Touch Bar driver
    ↓
Touch Bar UI
Debugging from the bottom up is much more effective.
Mistake 5 — Treating the camera as a separate problem
The camera originally showed no:
/dev/video0It looked like another missing Linux camera driver.
But with the T1 already stuck in recovery mode, debugging the camera separately made little sense.
Once the Apple EFI/T1 environment was restored and preserved, the camera worked automatically.
Again: understand the dependencies before installing more software.
Reflection
This experiment started with a very simple question:
What can I do with an old MacBook that I no longer use?
I expected the answer to be something like installing Linux and using it as a secondary laptop.
What I found more interesting was how capable old hardware becomes when the workload changes.
A 2017 dual-core Intel i5 with 8 GB of RAM is clearly no longer an impressive computer by modern specifications.
But for an AI-assisted developer workflow, the equation is different.
The machine does not need to run the intelligence locally.
It mainly needs to provide:
good keyboard
good display
browser
terminal
network
Git
SSH
AI agent interface
The expensive computation can happen elsewhere.
That changes what “obsolete hardware” means.
My 2017 MacBook has effectively become:
a thin client for AI-assisted software development.
There was another lesson as well.
Modern tools such as Omarchy can dramatically simplify Linux, but hardware abstractions still matter.
The experience reminded me that:
Software eventually meets hardware.
An AI agent can write code, install packages and diagnose logs, but understanding things like EFI, APFS, kernel modules, USB devices and hardware dependency chains still matters when something goes wrong.
The interesting part is that AI also makes this kind of experimentation far more accessible.
Several years ago, troubleshooting Broadcom Wi-Fi, Cirrus audio, DKMS modules and an Apple T1 bridge would probably have meant hours of searching through forum threads.
Today I could iteratively inspect the system, understand error messages, test hypotheses and repair the machine much faster.
That may be one of the less discussed impacts of AI on computing:
AI does not just make new software easier to build. It also lowers the barrier to understanding, modifying and extending the computers we already own.
And perhaps that is the most satisfying outcome of this experiment.
Instead of buying another device, an old laptop that was sitting unused now has a clear purpose again.
Old MacBook
    ↓
Linux
    ↓
Omarchy
    ↓
AI-native development workstation
Sometimes the most interesting new computer is the one you already have.
Keep the conversation going
What did this make you notice?
Leave a thought, a question, or a lesson from your own second-life hardware experiment.
Loading comments…